How to Save Money by Making a Homemade Rain Barrel
June 24, 2012 - Make sure you like EcoJoes on Facebook to stay updated on green ways to save money and help the environment. Just click the "like" button below. Muchas gracias!
A rain barrel is a great way to conserve water by storing the rain from “Father Sky” until you want to use it for gardening, landscaping, or other assorted outdoor activities. This can also save you a chunk o’ change on your water bill.
Here’s an easy way to make your own rain water barrel. I basically followed the instructions at the RaleighNC site, with a few EcoJoe twists thrown in for good measure.
Supplies
For this here project, you will need some supplies. You can get these for less than 45 bucks. Heck yeah.
Handy Hint: If you tell the person working at the hardware shop what you’re building, they can help you find what you need.

- 1 – Heavy duty trash can (I used a 35 gallon RhinoTuff can. With a name like that it better be strong.)
- 1 – 1/2″ Hose bib
- 1 – 6″ Chimney pipe trim collar
- 2 – 1/2″ Faucet tailpipe nuts
- 3 – #15 O-rings
- 1 – 1/2″ Threaded nipple
- 1 – 1/2″ Threaded PVC extender
- 4 – Small screws
- 1 – piece 7″x 7″ nylon screen
Tools:
- Scissors or tin snips
- Drill with 3/4 inch paddle bit
- Screwdriver
- Boxcutter
Step 1: Drill Them Holes!
Stick that 3/4″ paddle bit into your drill and fire that sucker up, ’cause it’s drilling time!
First, drill the bottom hole. This is where the hose spout will be (about 4″ from the bottom of the trash can).

Don’t put that drill away quite yet; it’s time for hole número dos, where the overflow pipe will go. Put it about 2 inches from the top rim, like so:
Step 2: Putting in the Pipes
So now you have a trash can with some holes in it. It’s ’bout time to put some pipes into it and turn it into a rain barrel.
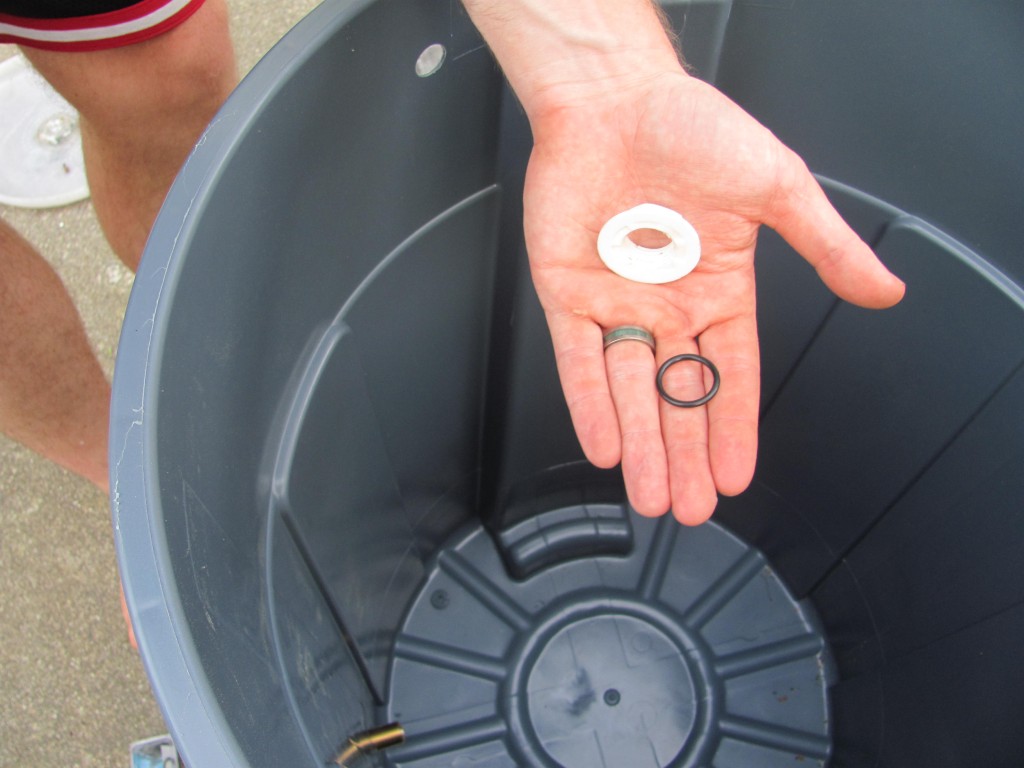
First, take the hose spout, and screw it into the bottom hole. Feel free to put an O-ring on the outside of it.
Next, take another o-ring, and put it on the part of the hose spout that’s inside the can. Screw a the PVC nut onto the hose spout to hold it firmly to the trash can.
Awesome job, you’re doing just great! Now, it’s time to put in the overflow pipe at the top.
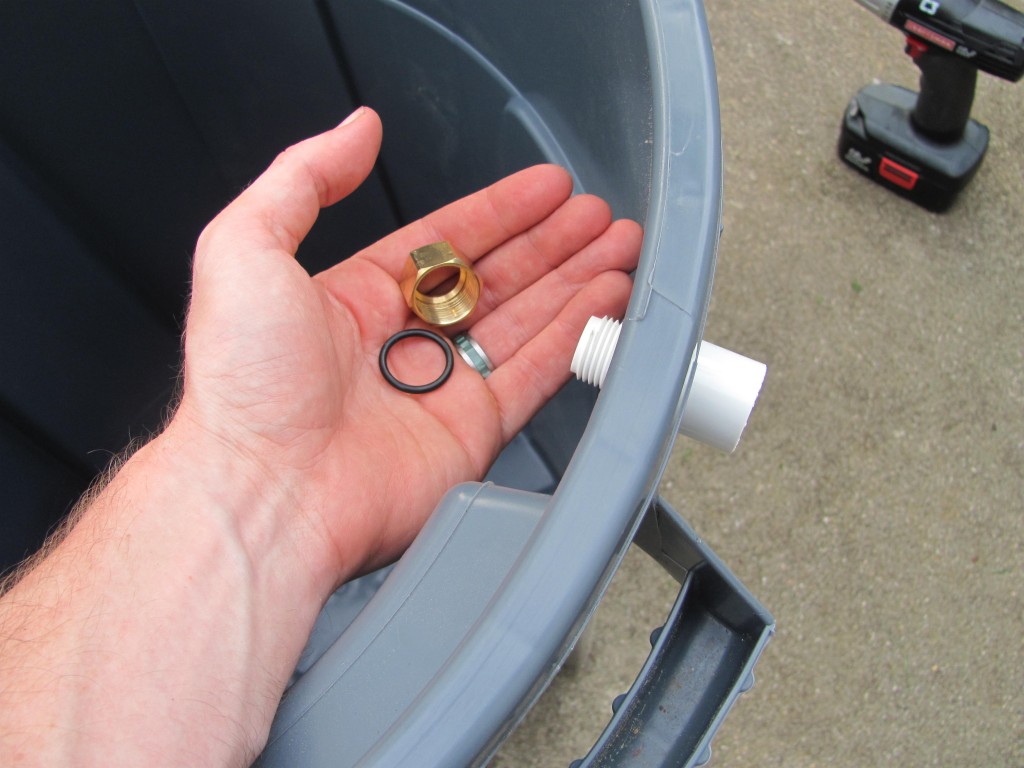
Screw in the PVC extender, and put an o-ring and a tailpiece nut on the inside to hold it in place. Once that’s done, screw the metal threaded nipple (great name) into the outside of the PVC extender.
Around this time, Charlie, the erstwhile stray cat whom me and Tiff built an outdoor cat house for, dropped by to check on the progress. His baleful glare made me feel hot shame, and I hurried to finish the homemade rain barrel under his watchful eye.
Step 3: Hole-y Moley
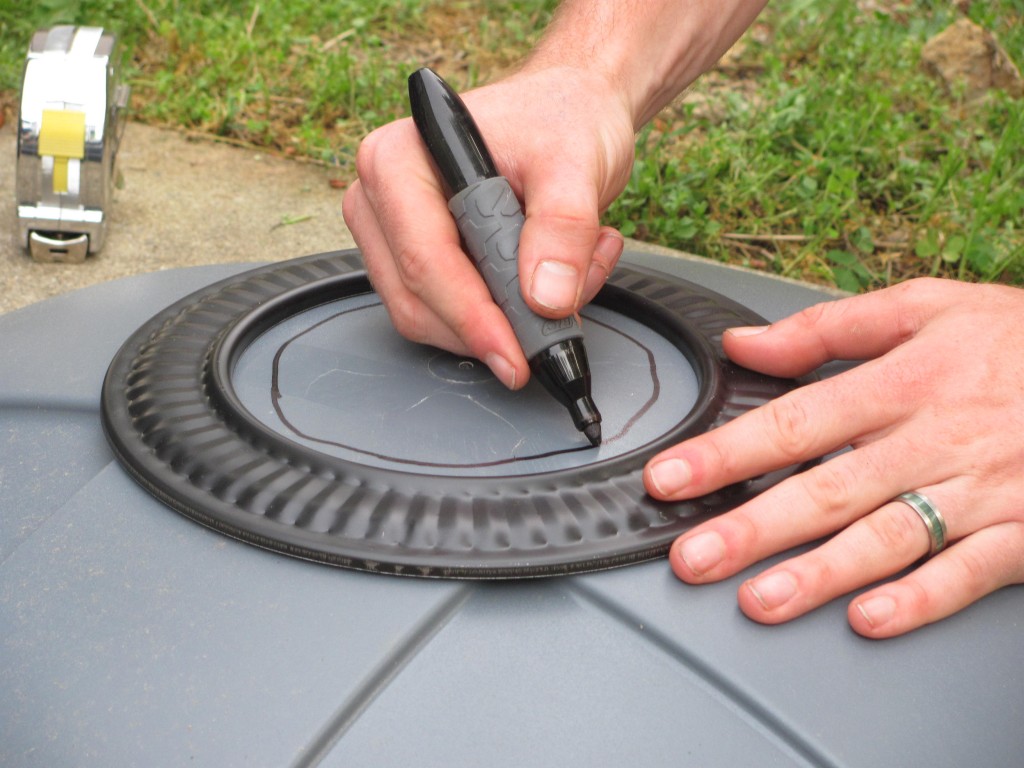
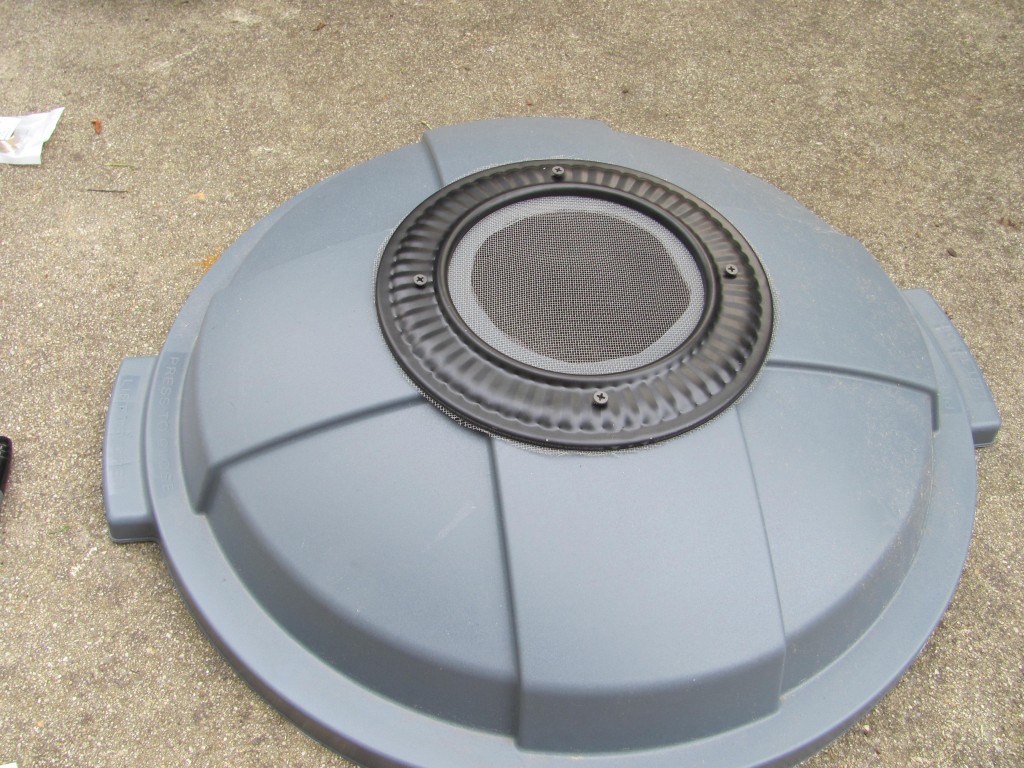
Mash the chimney pipe collar onto the top of the trash can lid, and draw out a circle where you plan to cut your hole. This is where precious rain water will flow into your contraption.
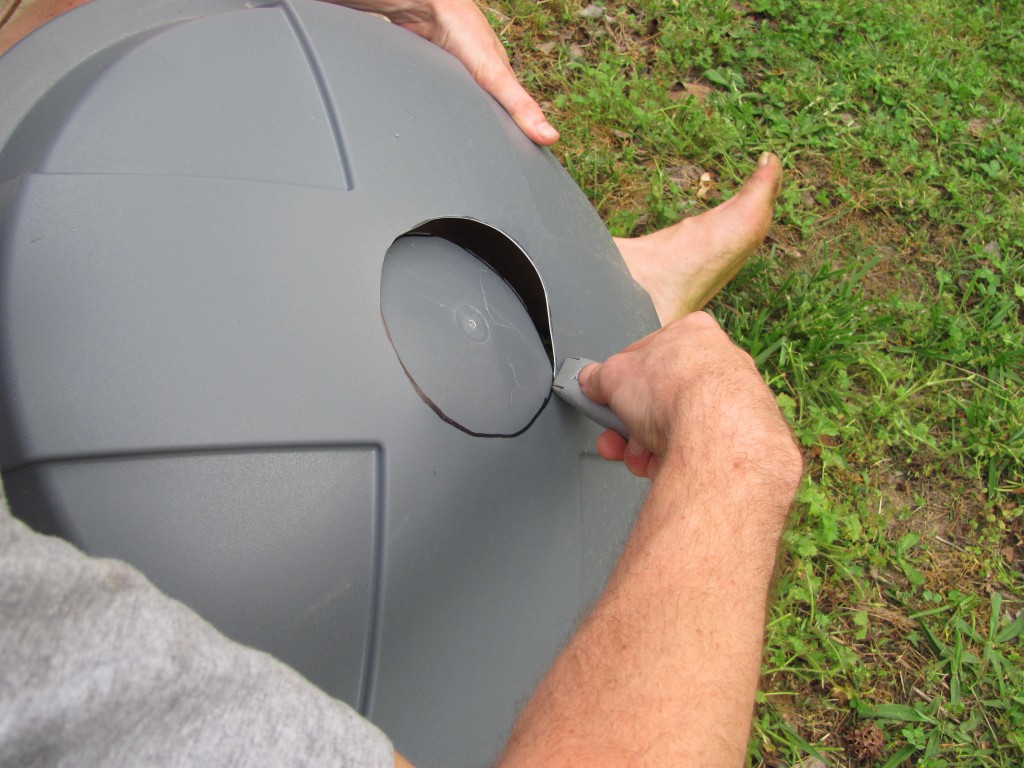
Here’s the dangerous part. Kids, get your parents. Parents, get your box cutters. Everyone, get ready. It’s time to cut that hole in the water barrel lid. Note my extensive protective gear.
Now, it’s time to cut a circle of nylon screen to roughly the size of the chimney pipe collar. I reused some old window screen for this here part.
Place the screen and chimney pipe collar over the hole in the lid, and use about 4 screws to attach the collar to the lid. It should look a little something like this:
Take a gander through your new rain barrel lid. I was able to spy out this sneaky black cat through it.
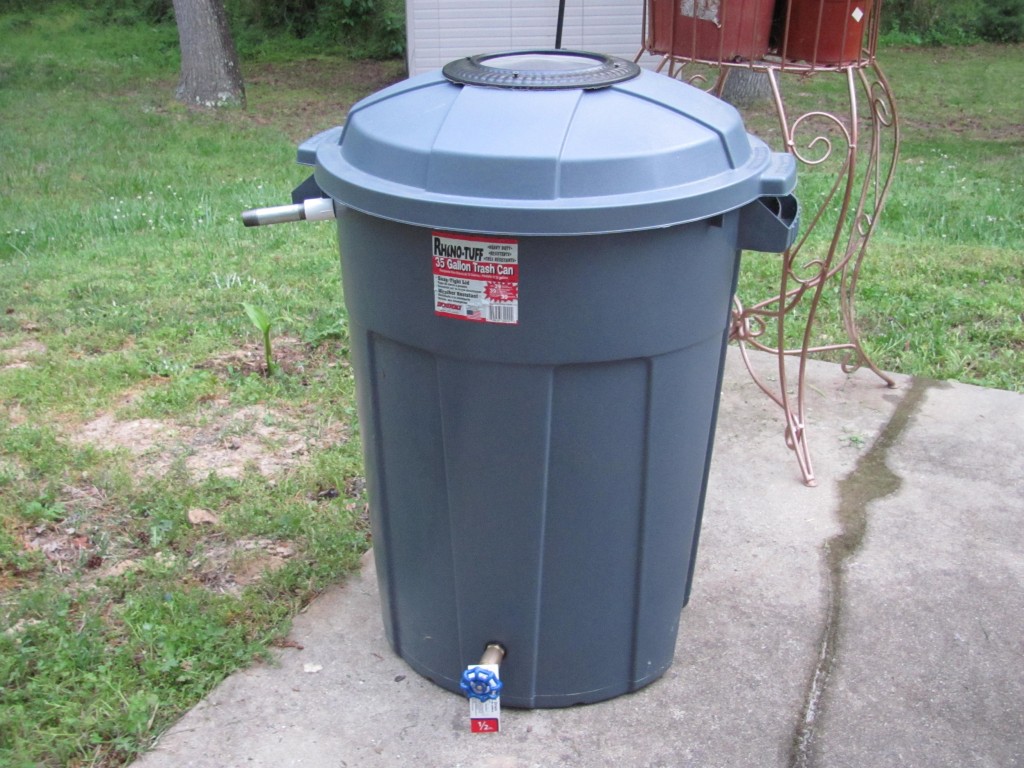
Now, take a deep breath. Gather your chi, or whatever you want to call it. Man/woman up. It’s time to slap that lid onto your very own, brand new, homemade rain barrel!
That’s it! In an upcoming article, I’ll show how to attach your rain water barrel to to your gutter so you can gather the gallons of water that pour off your roof when it rains.
Epilogue
Charlie wandered back by to see how it all turned out, and the finished rain water barrel done blew his mind!




 Logging you in...
 Loading IntenseDebate Comments...
Tom Q Nguyen · 664 weeks ago
ecojoe 69p · 664 weeks ago
dirty · 660 weeks ago
ecojoe 69p · 660 weeks ago
nicey · 664 weeks ago
Prepared Guy · 663 weeks ago
ecojoe 69p · 663 weeks ago
The rain barrel does do a great job getting water for the garden, I barely have to use city-water for it ever now.