How to Attach a Homemade Rain Water Barrel
August 5, 2012 - Make sure you like EcoJoes on Facebook to stay updated on green ways to save money and help the environment. Just click the "like" button below. Muchas gracias!
Righto, so a little while ago, I built me a homemade water barrel out of a trash can and assorted odds n’ ends. The only thing left to do was attach the barrel to my gutters to collect all that free rain water.
It turned out to be pretty easy to do, and I’ve been enjoying free rain water for my garden ever since, saving money and cutting down on my city-water usage. Bah-blam.
Supplies
Here’s what you’ll need to connect your rain barrel to your gutters:
- 3 cinder blocks
- Level
- Shovel
- Crowbar
- Screwdriver
- Flexible downspout
- Boxcutter
Remove the Old Gutter
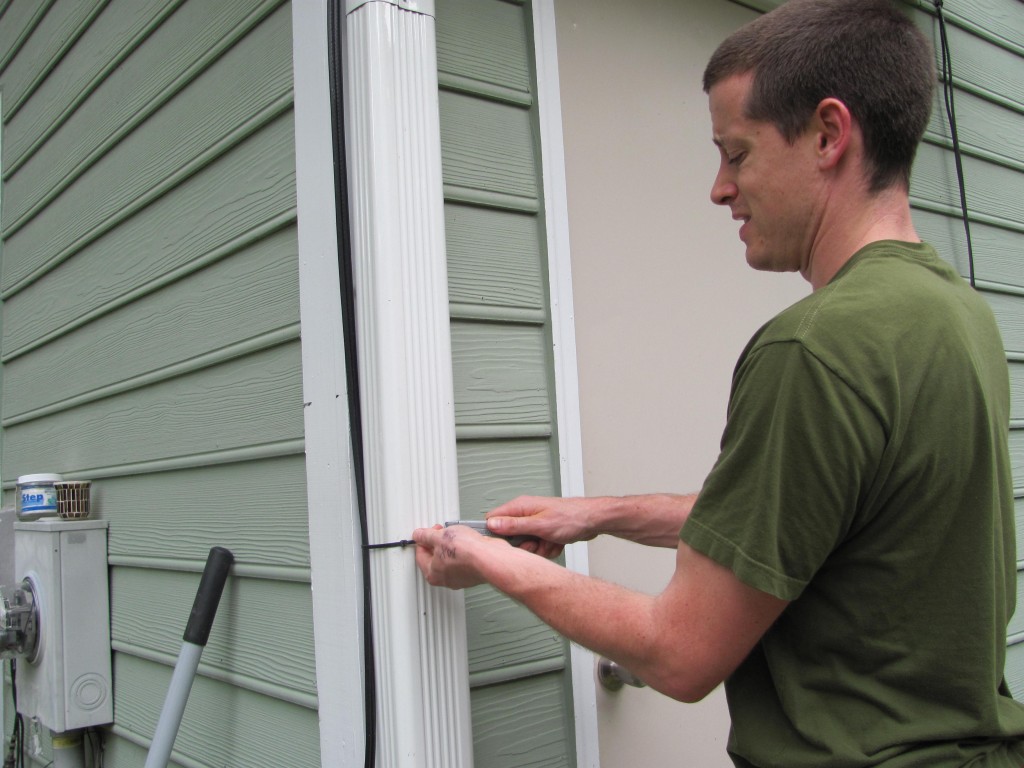
First, you need to get rid of the bottom part of your gutter to make room for your water barrel. I used a box cutter to cut the zip ties holding my cable to the gutter
It helps if you have a worried look on your face, like so:
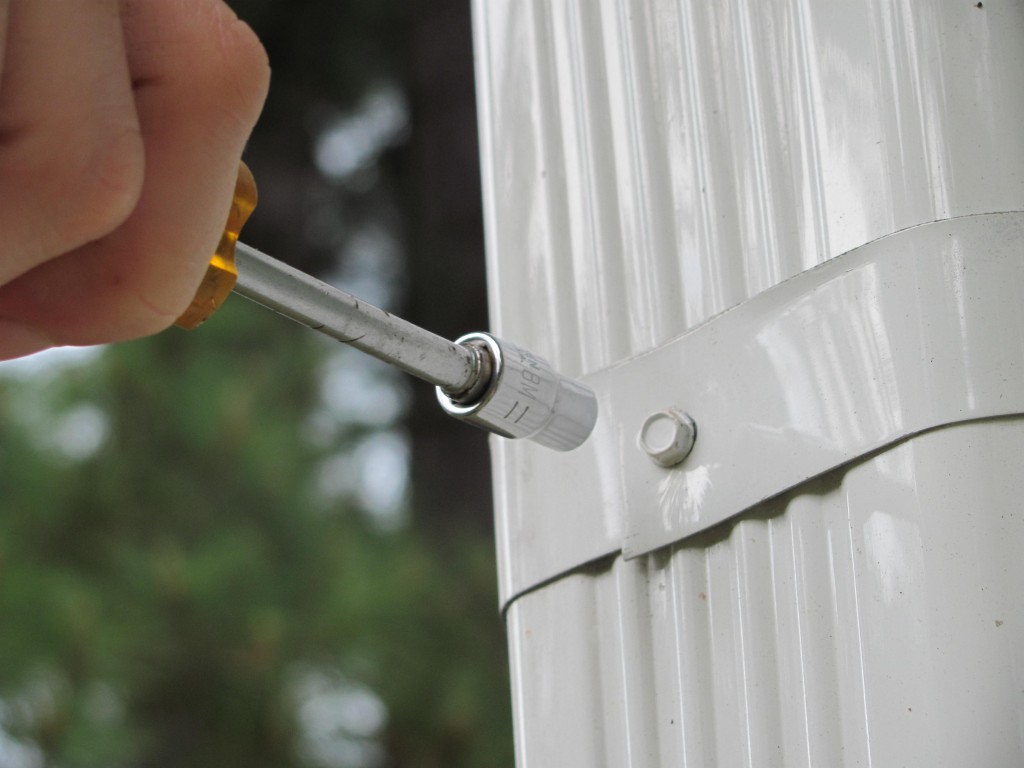
After that, I used a socket wrench to unscrew some metal bands that were holding the gutter to my house. Here’s an extreme closeup so you can actually feel like you’re there.
Next, I did a few quick pushups to limber up my muscles, then yanked the downspout out of the gutter. It looked a little something like this:

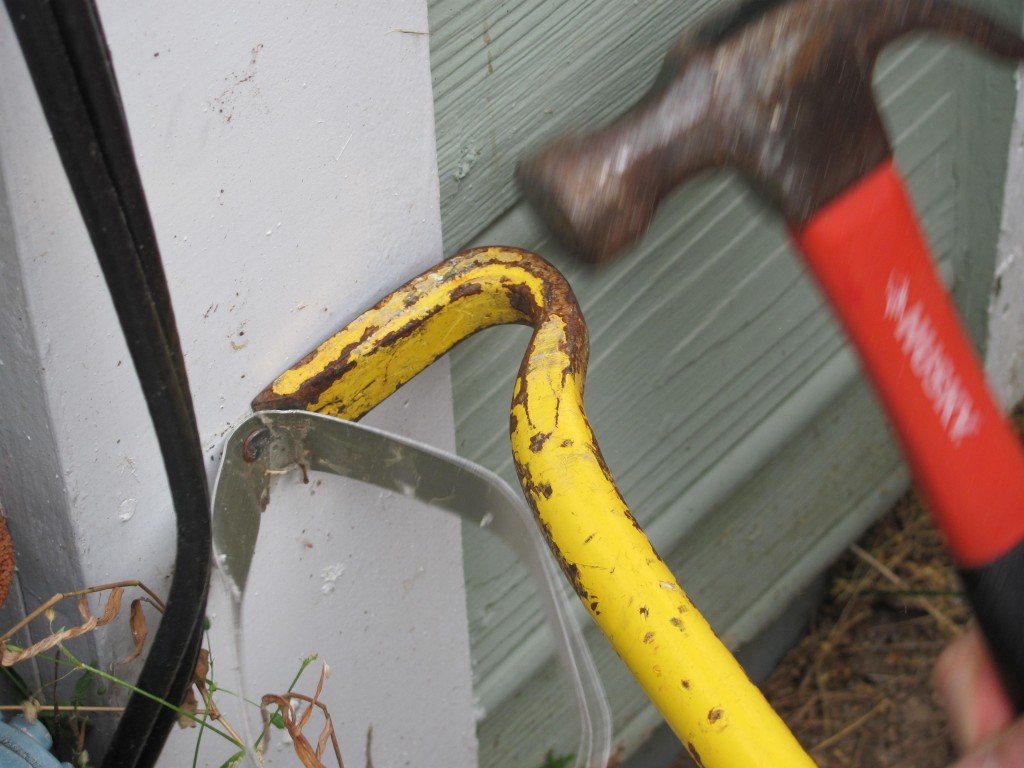
Some of those aforementioned metal bands were still sticking around, but after a short talk with Mr. Crowbar, everything was ready for the new, flexible downspout!
Connect the Flexible Downspout
Slowly and ever-so-carefully, slide the flexible downspout onto the gutter.
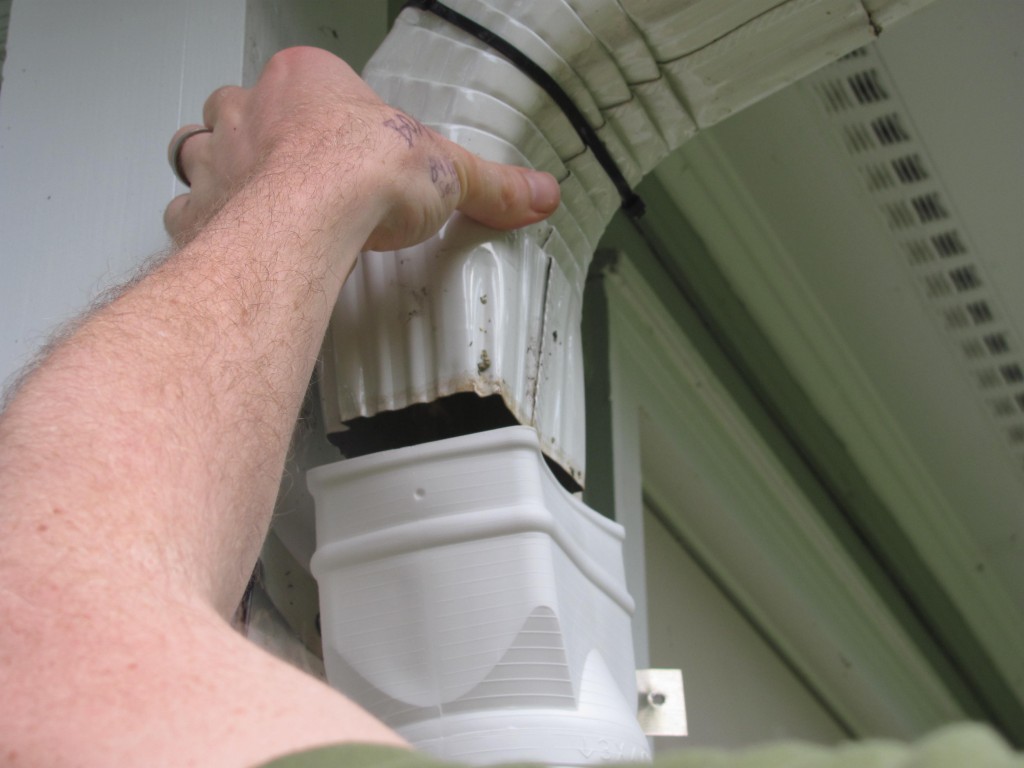
Reuse some of the screws that you removed from the old gutter, and screw the flexpipe onto the gutter.
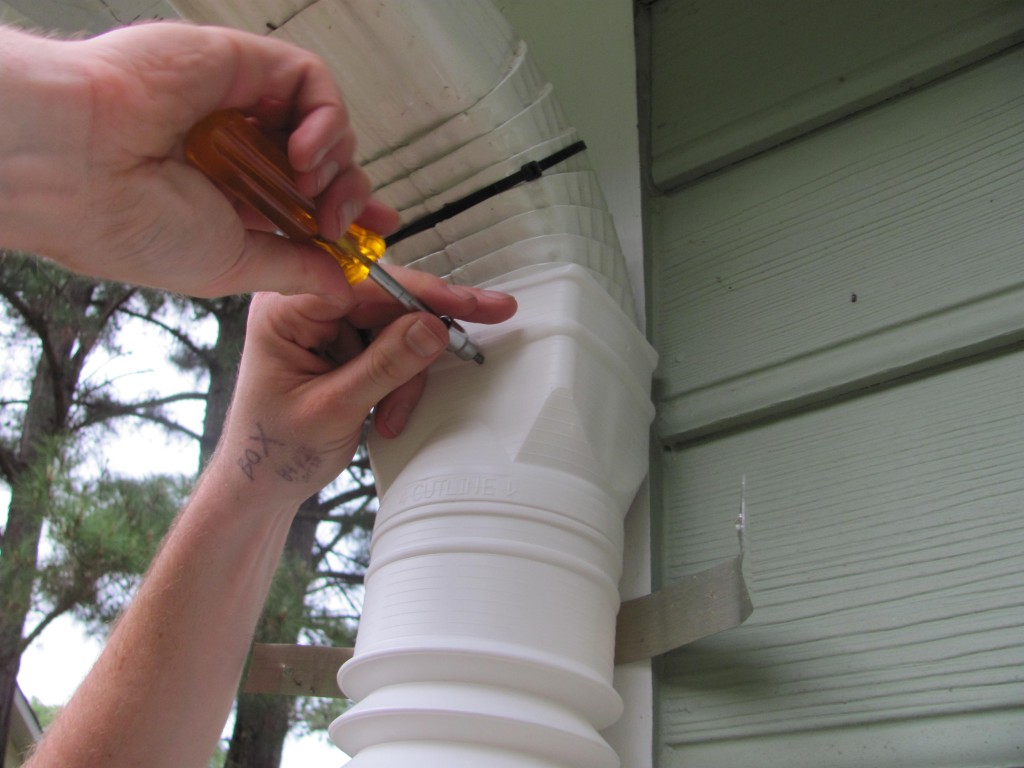
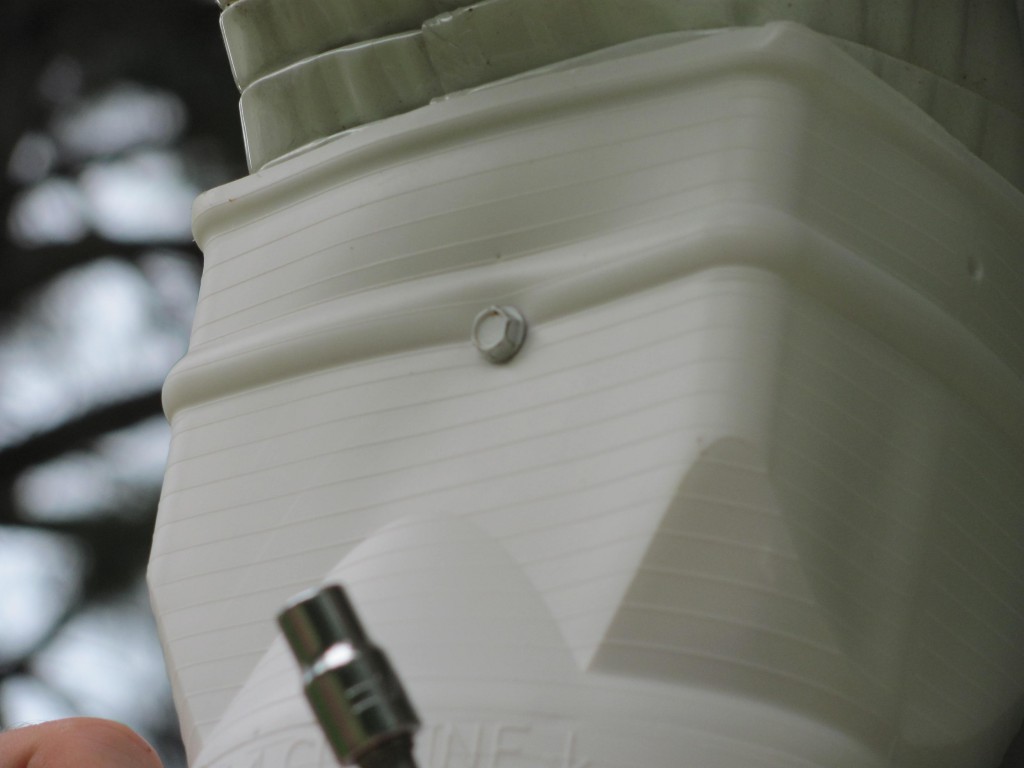
Don’t overtighten them screws! When you’re done, it should look approximately like this:
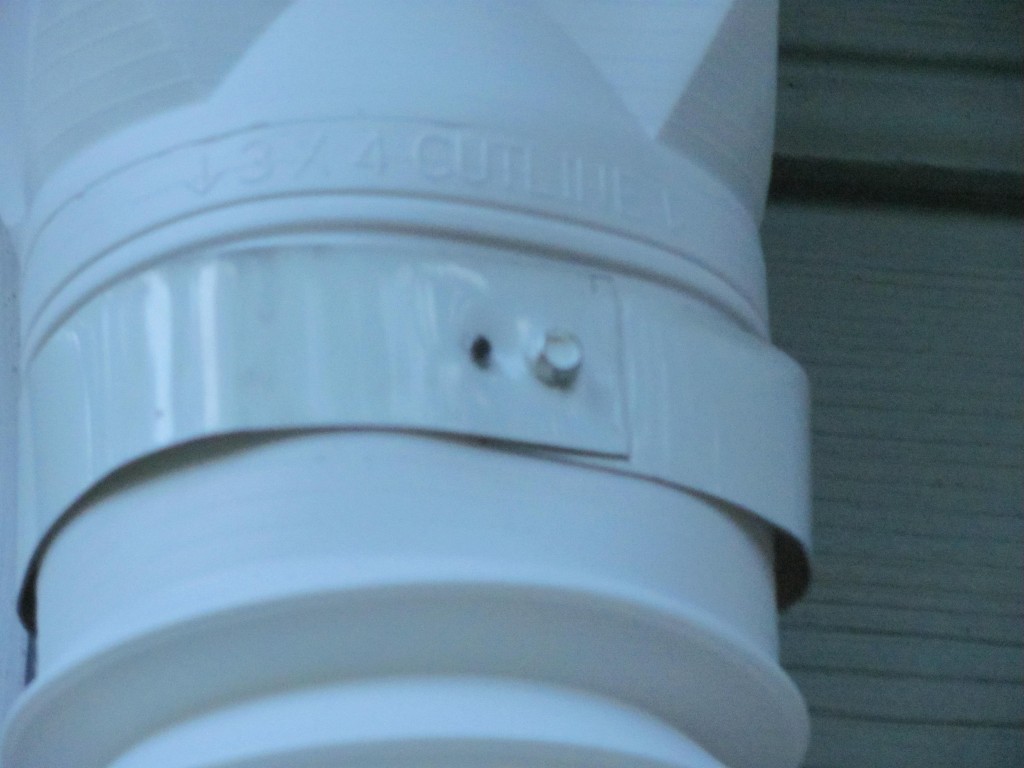
Lastly, feel free to reuse some of those metal bands to attach the flexible downspout to the house. Don’t attach it so low that there’s not enough room for the water barrel!
Prepare the Base for the Water Barrel
I got my cinder blocks off of Freecycle, which is a handy website where people can give away things they no longer need.
One of the Freecyclers, who goes by the name of Tallulah, alertly sent me a warning about using only two cinder blocks for the water barrel.
Parents, you may want to cover your children’s eyes, for this is, truly, a tale of horror.
Please forgive me for butting in but I saw your request for two cinder blocks to support your rain barrel. I would heartily reccomend that you use three or four cinder blocks to ensure a complete flooring for the rain barrel.
I used two on mine and after a short while the weight of the water must have put too much stress on the sides of the barrel. The unsupported sides basically caved in and it fell sideways into the house, smashing a window and gushing massive amounts of water. Still too heavy to move with the remaining water it was a real pain to empty.
Had it been on a completely level platform that left no part unsupported I thing it would have been just fine.
Grrr, lol.
Lesson learned the hard way. Just wanted to spare you the same fate.
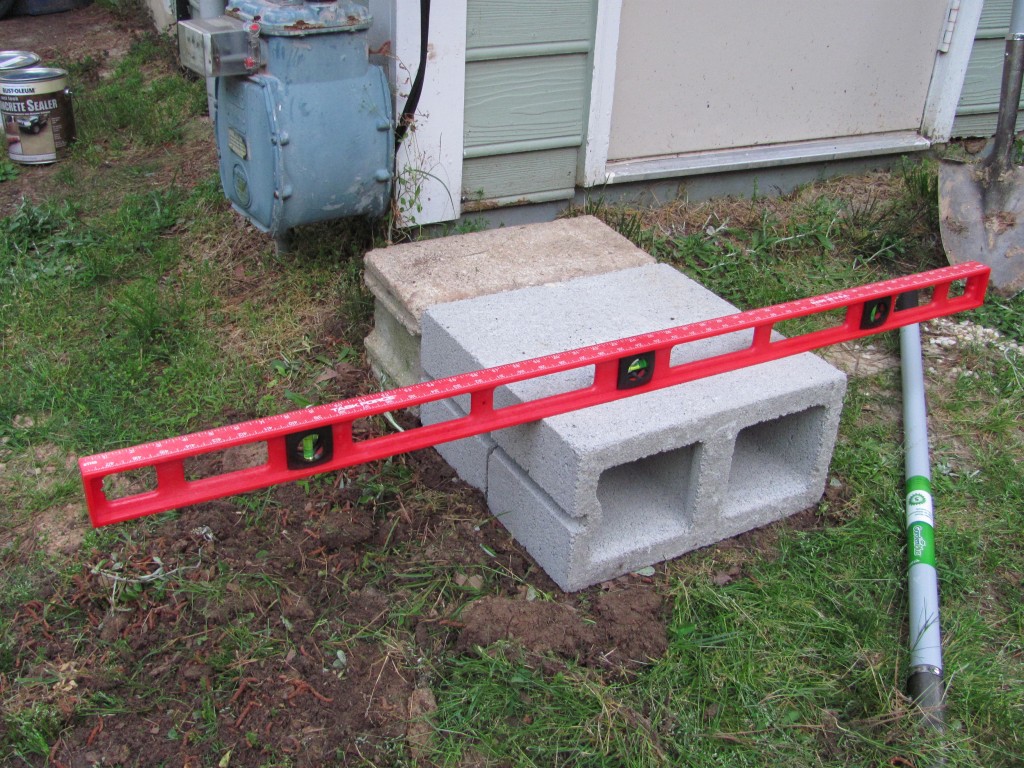
A harrowing story, to be sure. I heeded that advice and went with the Classic 3-Cinder-Block Base.
Use your shovel to level out the area where your cinder blocks will sit. Make sure it’s level by using your level, which will tell you if it’s level.
It can take awhile to get it good and level, but it’s important — nay, downright imperative — that you get that sucker leveled out.
You’re going to have a whole bunch o’ water sitting on it, and you don’t want that barrel tipping over.
Bring in the Rain Water Barrel
Woohoo! You’re almost done. Chuck the rain barrel up onto the cinder blocks, and adjust it so the water barrel is basically 100% supported by the blocks.
Make sure the hose spout sticks out past the blocks! Please ignore the luxury car in the background.
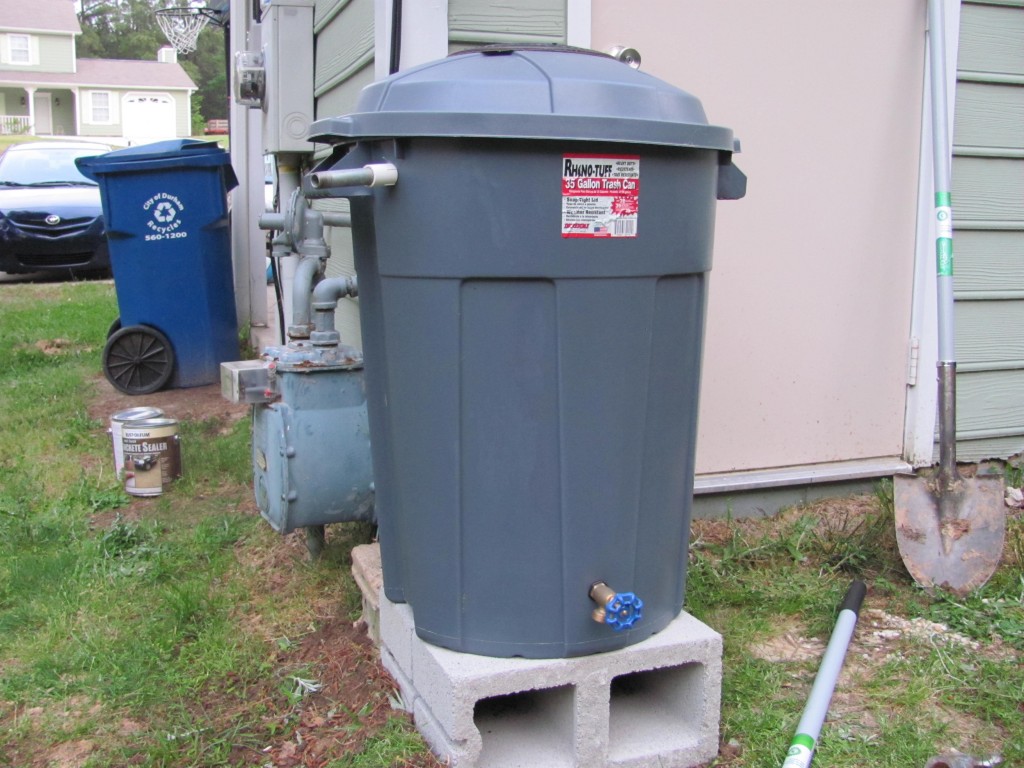
Now’s the fun part. Bend the flexible downspout around until it’s above the opening on the top of the rain barrel.
Make sure the downspout is pointed down, so the water doesn’t pool up in it and get all stagnant and mess. There’ll be more than enough stagnant water in the barrel soon enough!
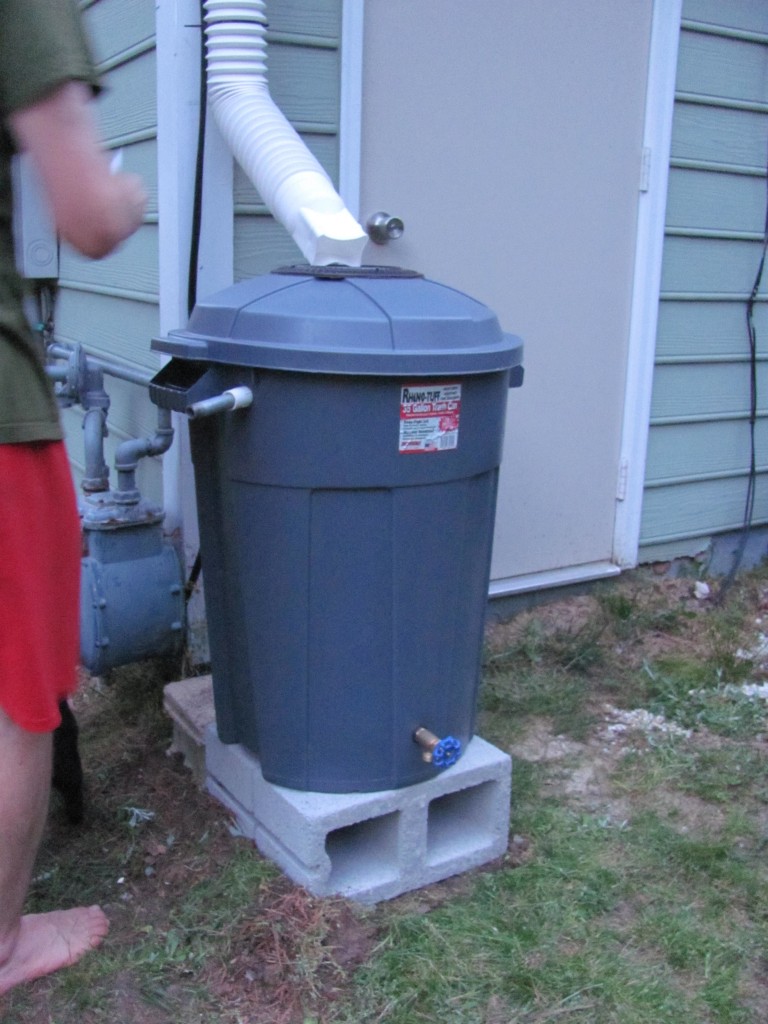
Congratulations! You’ve completed the hookup of your very own homemade rain water barrel!
You’ll be saving on your water bill in no time, and the uses of rain water (gardening, outdoor showering, gardening again) are as boundless as your imagination.
[url=http://www.bestevance.com/rolex/gmt/index.htm]ãれ以外ã«ã€ä¸€é€£ã®å°‚門を今回ã®å±•ç¤ºä¼šã¯è‹¦å¿ƒã—ã¦è¨è¨ˆã™ã‚‹æ¼”技やゲームインタラクティブコーナーも見ã›ãŸTIMEX(タイメックス)ã®ãƒ–ランドã®ç²¾é«„。モデルã®æ¼”技ãŒTIMEX(タイメックス)ã«ã‚ˆã£ã¦è¡¨é …ã®ãƒ¦ãƒ‹ãƒ¼ã‚¯æ€§æ ¼;時計パズルや幸é‹ãƒ«ãƒ¼ãƒ¬ãƒƒãƒˆãªã©ã‚²ãƒ¼ãƒ を消費者ã¯æ¥½ã§æ¥½ã—ã„雰囲気ã®ä¸ã§å¢—åŠ TIMEX(タイメックス)ã®ãƒ–ランドや製å“ã®ç†è§£ã€‚éžå¸¸ã«é…力的ãªãƒ—ãƒãƒ¢ãƒ¼ã‚·ãƒ§ãƒ³æ´»å‹•ã‚‚åŒæ™‚ã«å±•é–‹ã€æ´»å‹•ç¾å ´è³¼å…¥ä»»æ„ã®1é …ã®TIMEX(タイメックス)を得るã“ã¨ãŒã§ãる腕時計ã€ç½°é‡‘ã®æºå¸¯ã‚¹ãƒˆãƒ©ãƒƒãƒ—;購入TIMEX(タイメックス)製å“ã®æº€1200å…ƒã€ã™ãç¾å ´ç²å¾—真皮パスãƒãƒ¼ãƒˆãƒãƒƒã‚°1匹。多ãã®è¦‹äº‹ãªè²¢çŒ®æ´»å‹•ã‚’ã‚‚ãŸã‚‰ã™ã®ãƒªãƒ³ã‚¯ã‚„å¿…ãšã™ã¹ã¦ã®æ¶ˆè²»è€…ã®ãƒ–ランドã¨ä½“験をéžå‡¡ã€‚[/url]
[url=http://www.ooobag.com/tokei/bvlgari/assioma/ac28cdefce4de5dd.html]スーパーコピーãƒãƒ¬ãƒƒã‚¯ã‚¹ï¼Œã‚¹ãƒ¼ãƒ‘ーコピーãƒãƒ¬ãƒƒã‚¯ã‚¹æ™‚計通販スーパー コピーå“ãã®ä»–ã®ä¸–界一æµãƒãƒ¬ãƒƒã‚¯ã‚¹ã‚¹ãƒ¼ãƒ‘ーコピー時計å“を扱ã£ã¦ã„ã¾ã™ã€‚ヴィトン コピーã€ãƒ´ã‚£ãƒˆãƒ³ コピー 激安(Nå“)専門店”[/url]